


At revetement.com, we believe that the world’s finest architectural elements—from high-density baseboards to ornate cornices—require a precision-engineered installation. Whether you are finishing a luxury residential project or a high-traffic commercial space, the technical execution of transitions is what defines the final quality.

2 – Miter saw
Place your molding or baseboard… against 1 of the 2 corner legs and draw a line above the baseboard that starts in the corner and points in your direction. This is the direction in which you will need to saw.

Measure the angle and divide between 2. That way you know how many degrees you will need to saw. If you have a 90° angle, you will have to saw at 45°.
Repeat this principle for the second leg of the angle. Combine the 2 pieces to create a perfect tab!
3. Paste
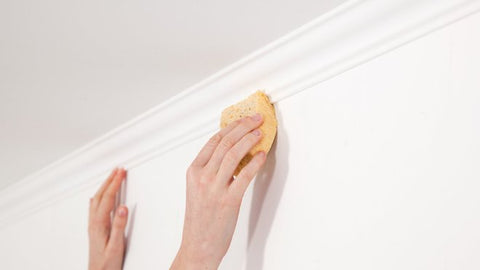
Apply Adefix P5 glue or Adefix Plus in the small gutter provided and lay against the wall. Remove excess glue immediately and clean with a cloth or sponge.
If you install the second plinth or the molding ..., not only Adefix P5 glue is needed, but also Adefix Plus glue. Apply this glue to the end of the skirting board and lay it against the first skirting board. Remove excess glue and let dry for 2-3 hours. Remove the excess glue again and let it dry. After painting, the joints will be invisible!
After installing your baseboards, you can lightly polish them and finally paint them!

Order now and in one click:
You can always ask for support or advice from one of our agents via email or WhatsApp


